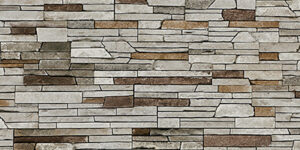
Why Choose Mortarless Stone Veneer?
Mortarless stone veneer is a cost effective, easy-to-install investment to improve the resale value of your home, offering up to a 95.6% return on investment.
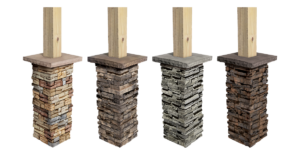
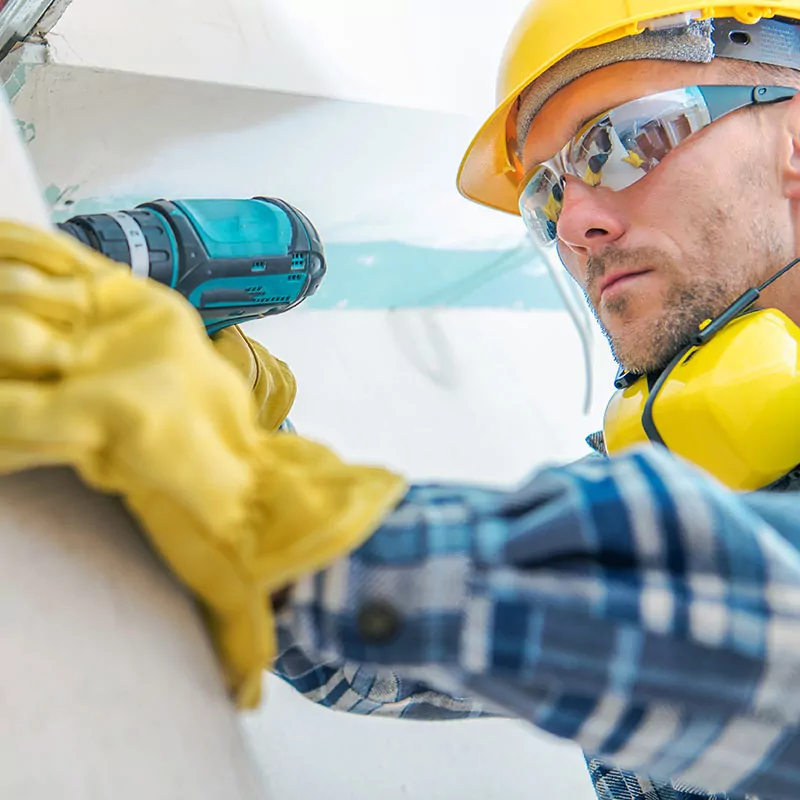
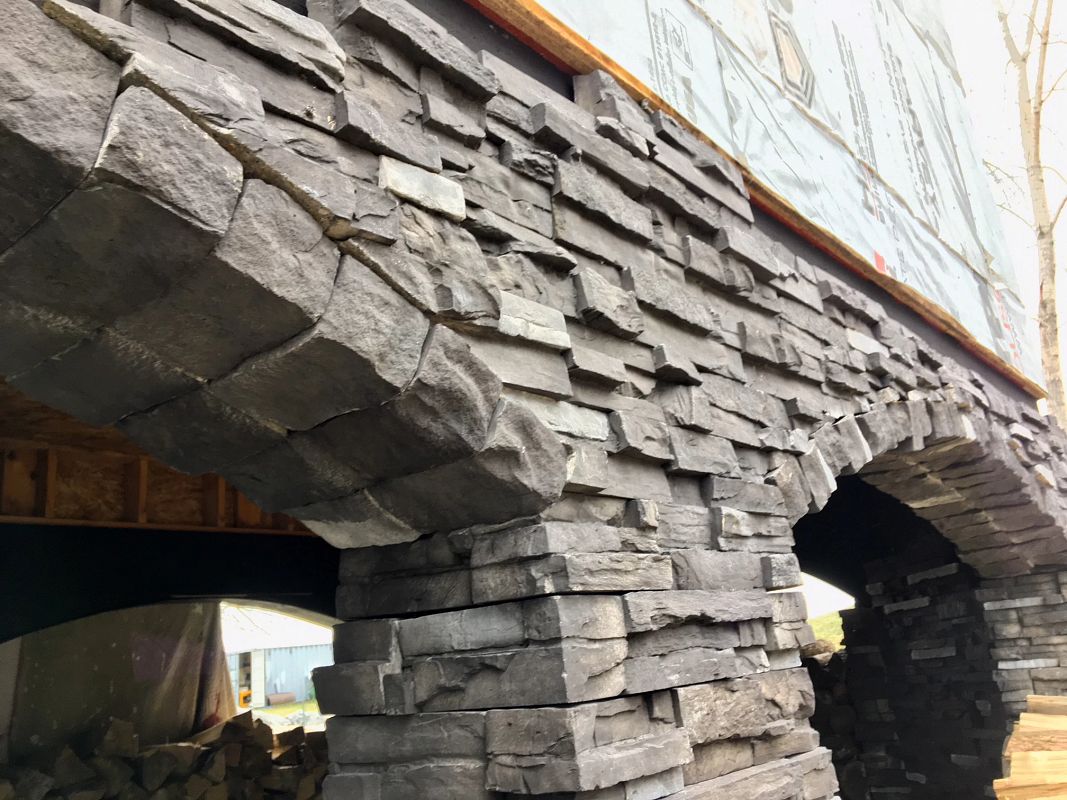
Easy-To-Install
Our mortarless stone veneer and stone veneer panels can be installed without a mason because they’re mechanically fastened for easy, DIY installation. No mortar or grout is required, so there’s no mess to clean up when you’re done. Enjoy a seamless profile with their interlocking design.
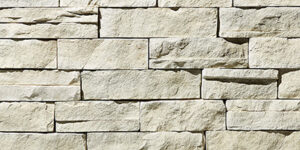
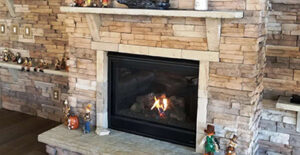
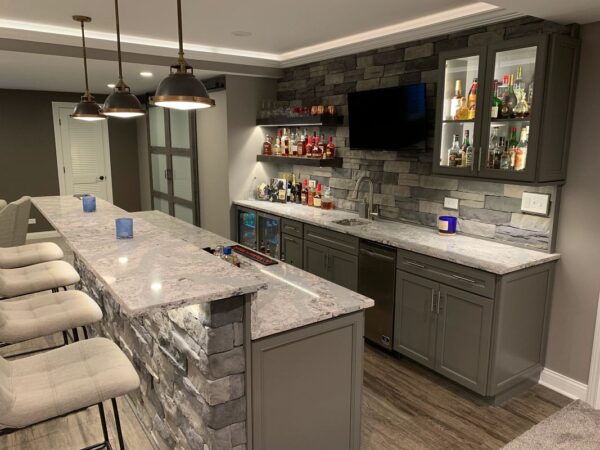
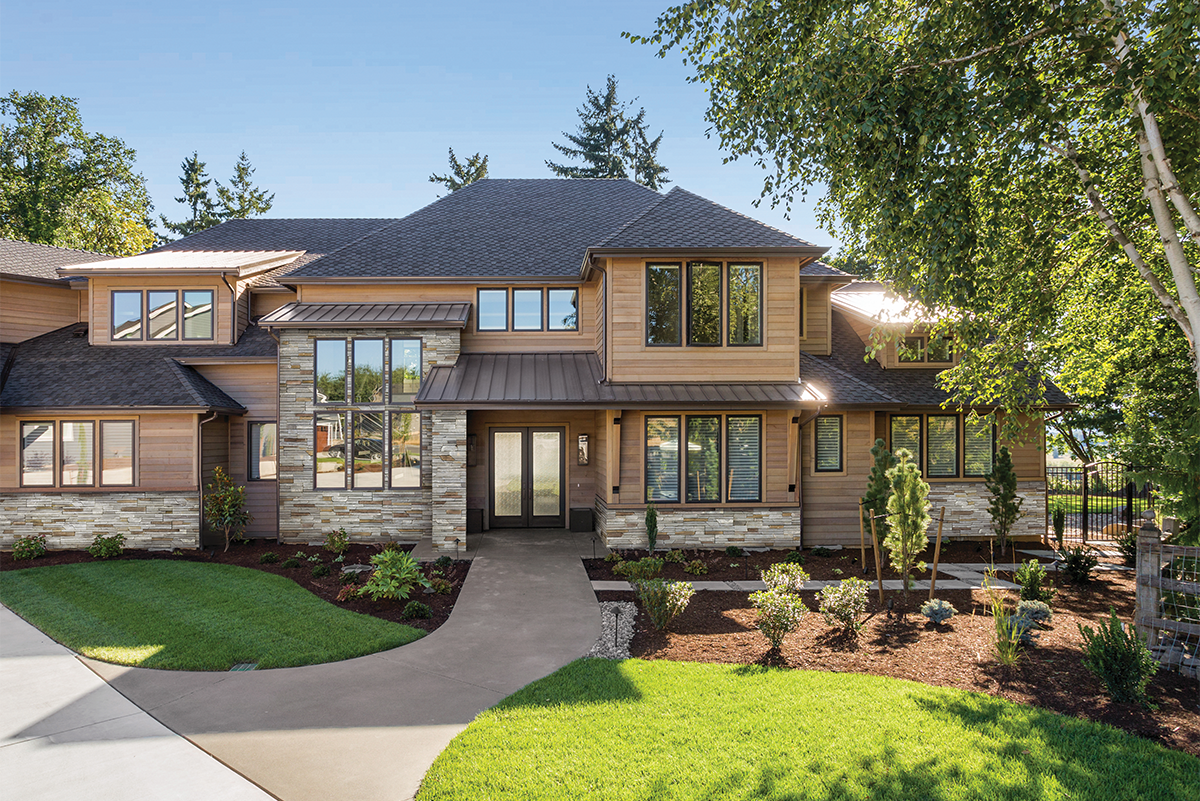
Mortarless Stone Veneer Siding Adds Aesthetic Appeal
Installing mortarless stone veneer is a great way to add a touch of sophistication to the interior and exterior of your home. Use as wainscoting for your home’s exterior or add an accent wall to highlight the unique architectural features of your home. Dress up your outdoor living space by adding to your fireplace or outdoor kitchen. Add mortarless stone to your kitchen island or bar to dress up the inside of your home.
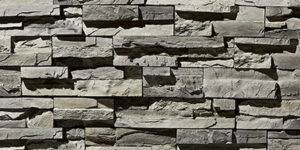
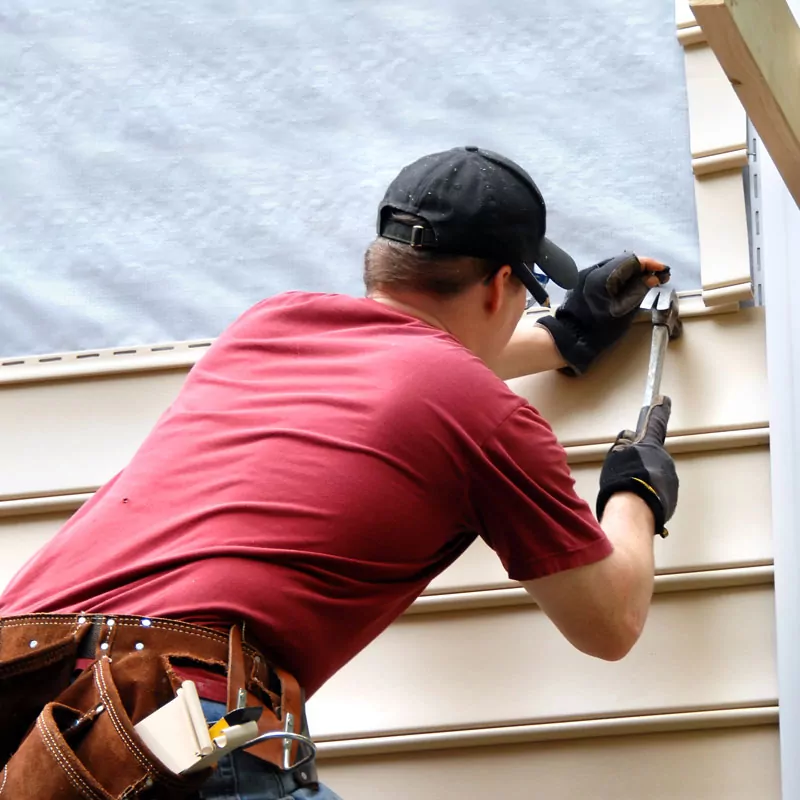
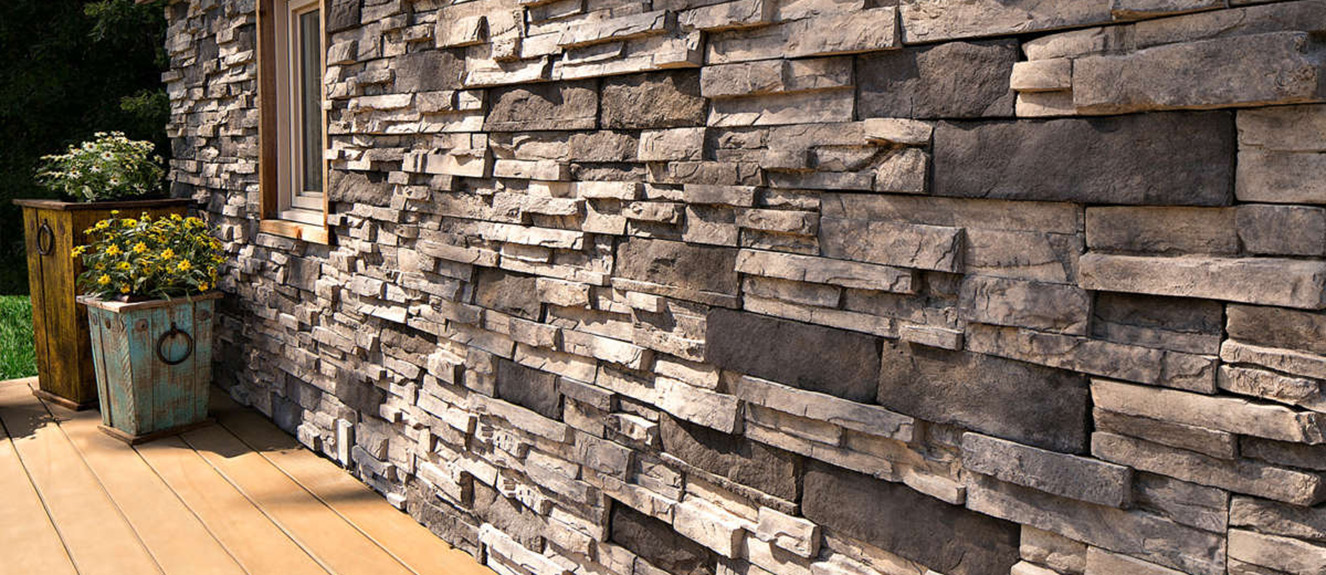
Exterior Mortarless Stone Veneer is Designed to Last
Our high quality mortarless stone is designed for long-lasting, low maintenance performance. It features a beveled design to ensure that the stones fit tightly together. Mounting brackets creates a secure attachment to the wall with a lifted design that allows for better drainage. Our mortarless stone veneer is resistant to damage from erosion, wear and tear, or harsh weather conditions. Stone Veneer is also fade-resistant to keep your home beautiful for years to come. Our maintenance-free products also come with a 50-year warranty for your peace of mind.